Easy Animal Painting Ideas to Try With Basic Supplies
Explore approachable animal painting subjects, composition ideas and techniques for beginner artists.
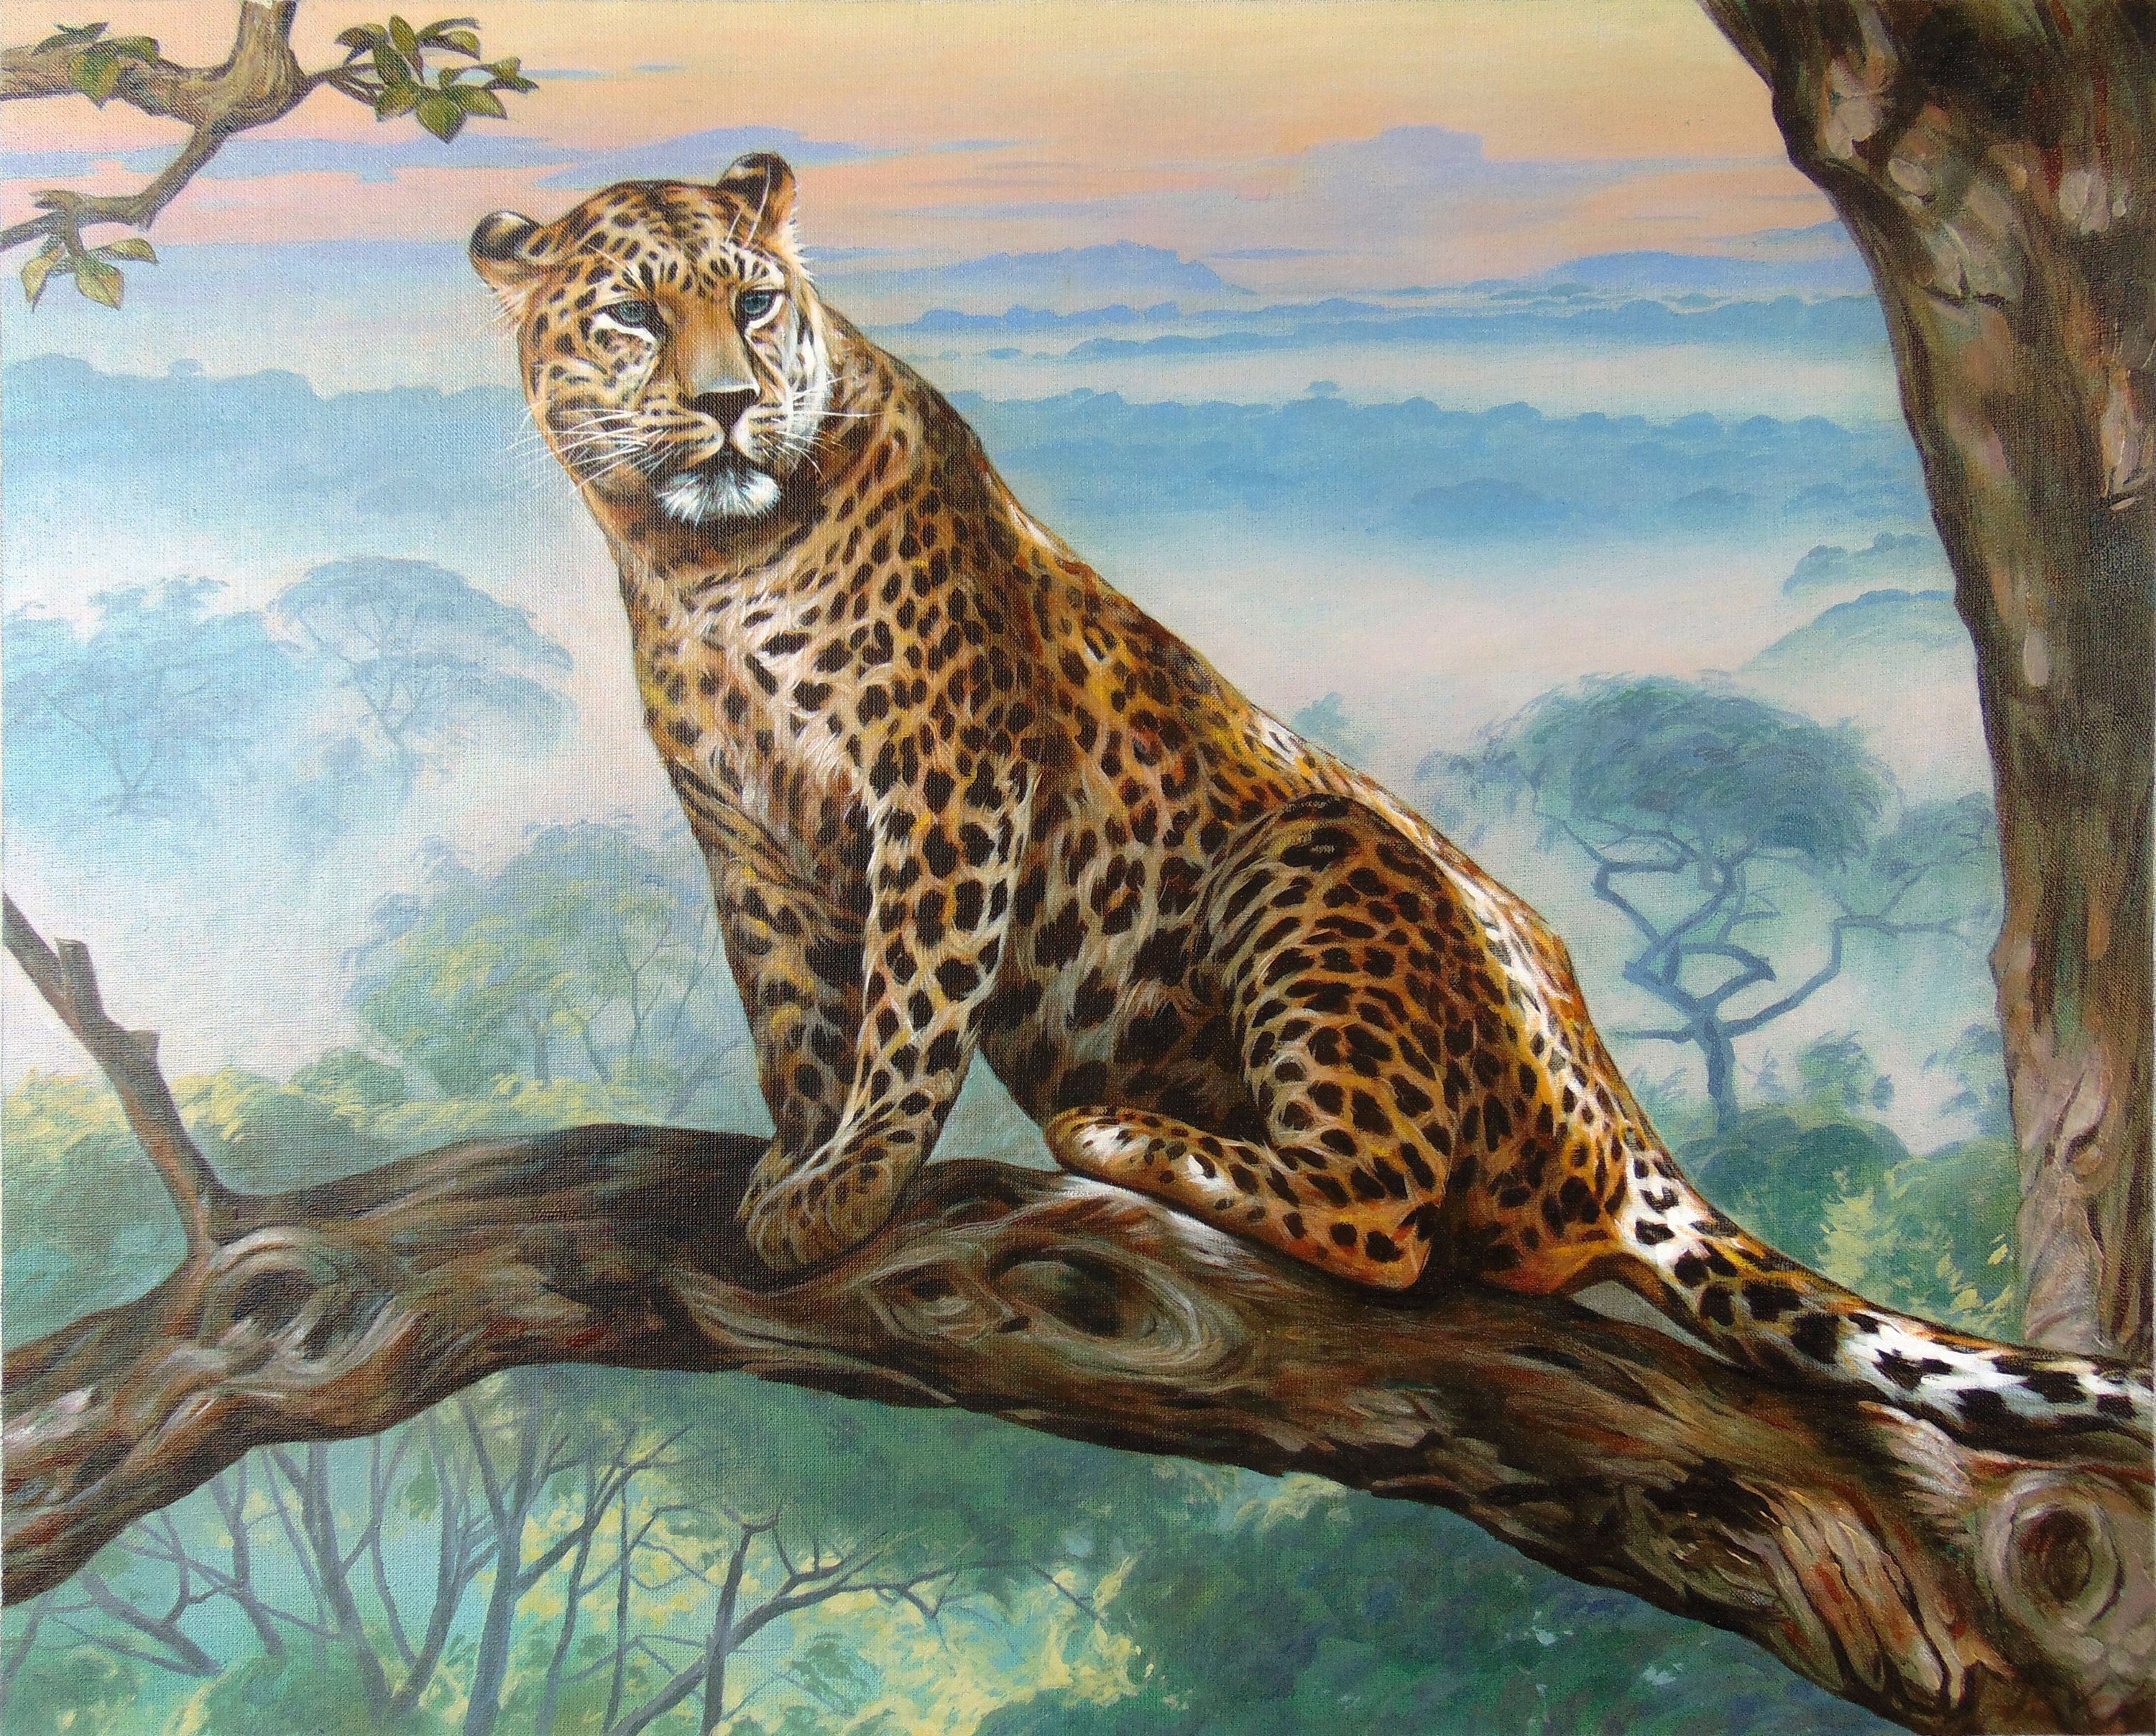
You do not need perfect drawing skills to paint an animal people can recognize. Beginners usually make faster progress by choosing a clear silhouette, a limited palette, and one interesting feature—such as a bird's beak or a cat's ears. Start with small studies instead of a complicated wildlife portrait. These ideas use simple materials and build practical techniques; they are not reviews of art products or claims that any particular method was professionally tested.
Start with three beginner-friendly subjects
A sleeping cat is a good introduction to rounded shapes and soft curves. A side-view fish works well for simple color blocks and repeating scales. A small bird on a branch teaches the relationship between a compact body, beak, tail, and background. Choose a photograph you own, a live subject you can observe safely, or a reference you have permission to use. Sketch the animal as two or three major shapes first. If the outline looks recognizable from across the room, you have enough structure to start adding paint.
Idea 1: a cat made from simple shapes
Lightly outline an oval head, a curved body, and two triangular ears. Paint the body as one large midtone area instead of outlining every strand of fur. Add darker marks for the ears, eyes, and tail, keeping the face simple. A contrasting cushion or background color helps the silhouette read clearly. Let the earlier layer dry before sharpening details if your medium requires it. If the cat looks stiff, compare the space around the shape rather than repeatedly correcting small whiskers. The negative space between paws and body often does more for a pose than tiny details.
Idea 2: a fish with bold color blocks
Draw an oval body, a triangle tail, and simple fins. Use two or three harmonizing colors for the main body, then add a slightly darker tone near one edge to suggest volume. The eye should be small relative to the head, and repeated dots or short marks can suggest texture without requiring individually rendered scales. Keep the surrounding water abstract—one or two broad bands or soft washes are enough. This exercise teaches shape, contrast, and pattern. Once the first version works, experiment with a second pose or a different fin shape to avoid relying on one stencil.
Idea 3: a bird silhouette and branch
Start with a round or teardrop body, a smaller head, and a simple pointed beak. Position the feet against a branch before painting the background. Try a light sky wash and let the subject remain a darker silhouette; that contrast will establish the composition quickly. Then add a few details that identify the bird's direction and posture. The goal is not a scientifically exact species illustration. It is a practice study in proportion, focal point, and value. For realistic bird paintings, study the actual species later rather than inventing markings from memory.
Watercolor versus acrylic for a first animal painting
Watercolor works well for transparent washes and soft edges, but it requires planning because the white of the paper often serves as the lightest area. Acrylic can be layered more opaquely after drying and is convenient for blocking in silhouettes, although it can dry quickly on a palette. Neither medium is universally easier. Choose based on supplies you have and whether you prefer fluid blends or more defined shapes. Use scrap paper to test a brushstroke, a dark-over-light correction, and a background gradient before committing to your final composition.
A simple practice session you can repeat
Spend a few minutes making three tiny thumbnail sketches of the same animal. Pick one composition, paint a two-color silhouette, and add only two details that matter most. After it dries, write one sentence about what worked and one about what to change next time. Repeat with a different animal group—perhaps a fish after the cat—to practice more than one shape. A collection of short studies often teaches more than spending an entire session fixing an elaborate portrait. For younger painters, avoid sharp tools and use age-appropriate, well-labeled materials.
Keep the focus on making, not shopping
A beginner kit can be as modest as paper suited to the medium, a few colors, a brush, water or a suitable cleaning setup, and a pencil for the outline. Resist buying specialized texture tools before you know what you enjoy painting. If you want to display or sell finished work, think about originality and the rights to any reference image you copied. This guide focuses on learning to paint your own animal picture, not buying finished animal art prints or reproducing a copyrighted illustration without permission.
Key takeaways
Sketch three large shapes before details.
Pick one animal and a small palette.
Use silhouette contrast to make the subject recognizable.
Practice a small study before a full-size painting.