How to Set Up Halloween Carnival Game Stations
Set up Halloween carnival games with DIY booths, supplies, prize ideas and a simple layout for guests of different ages.
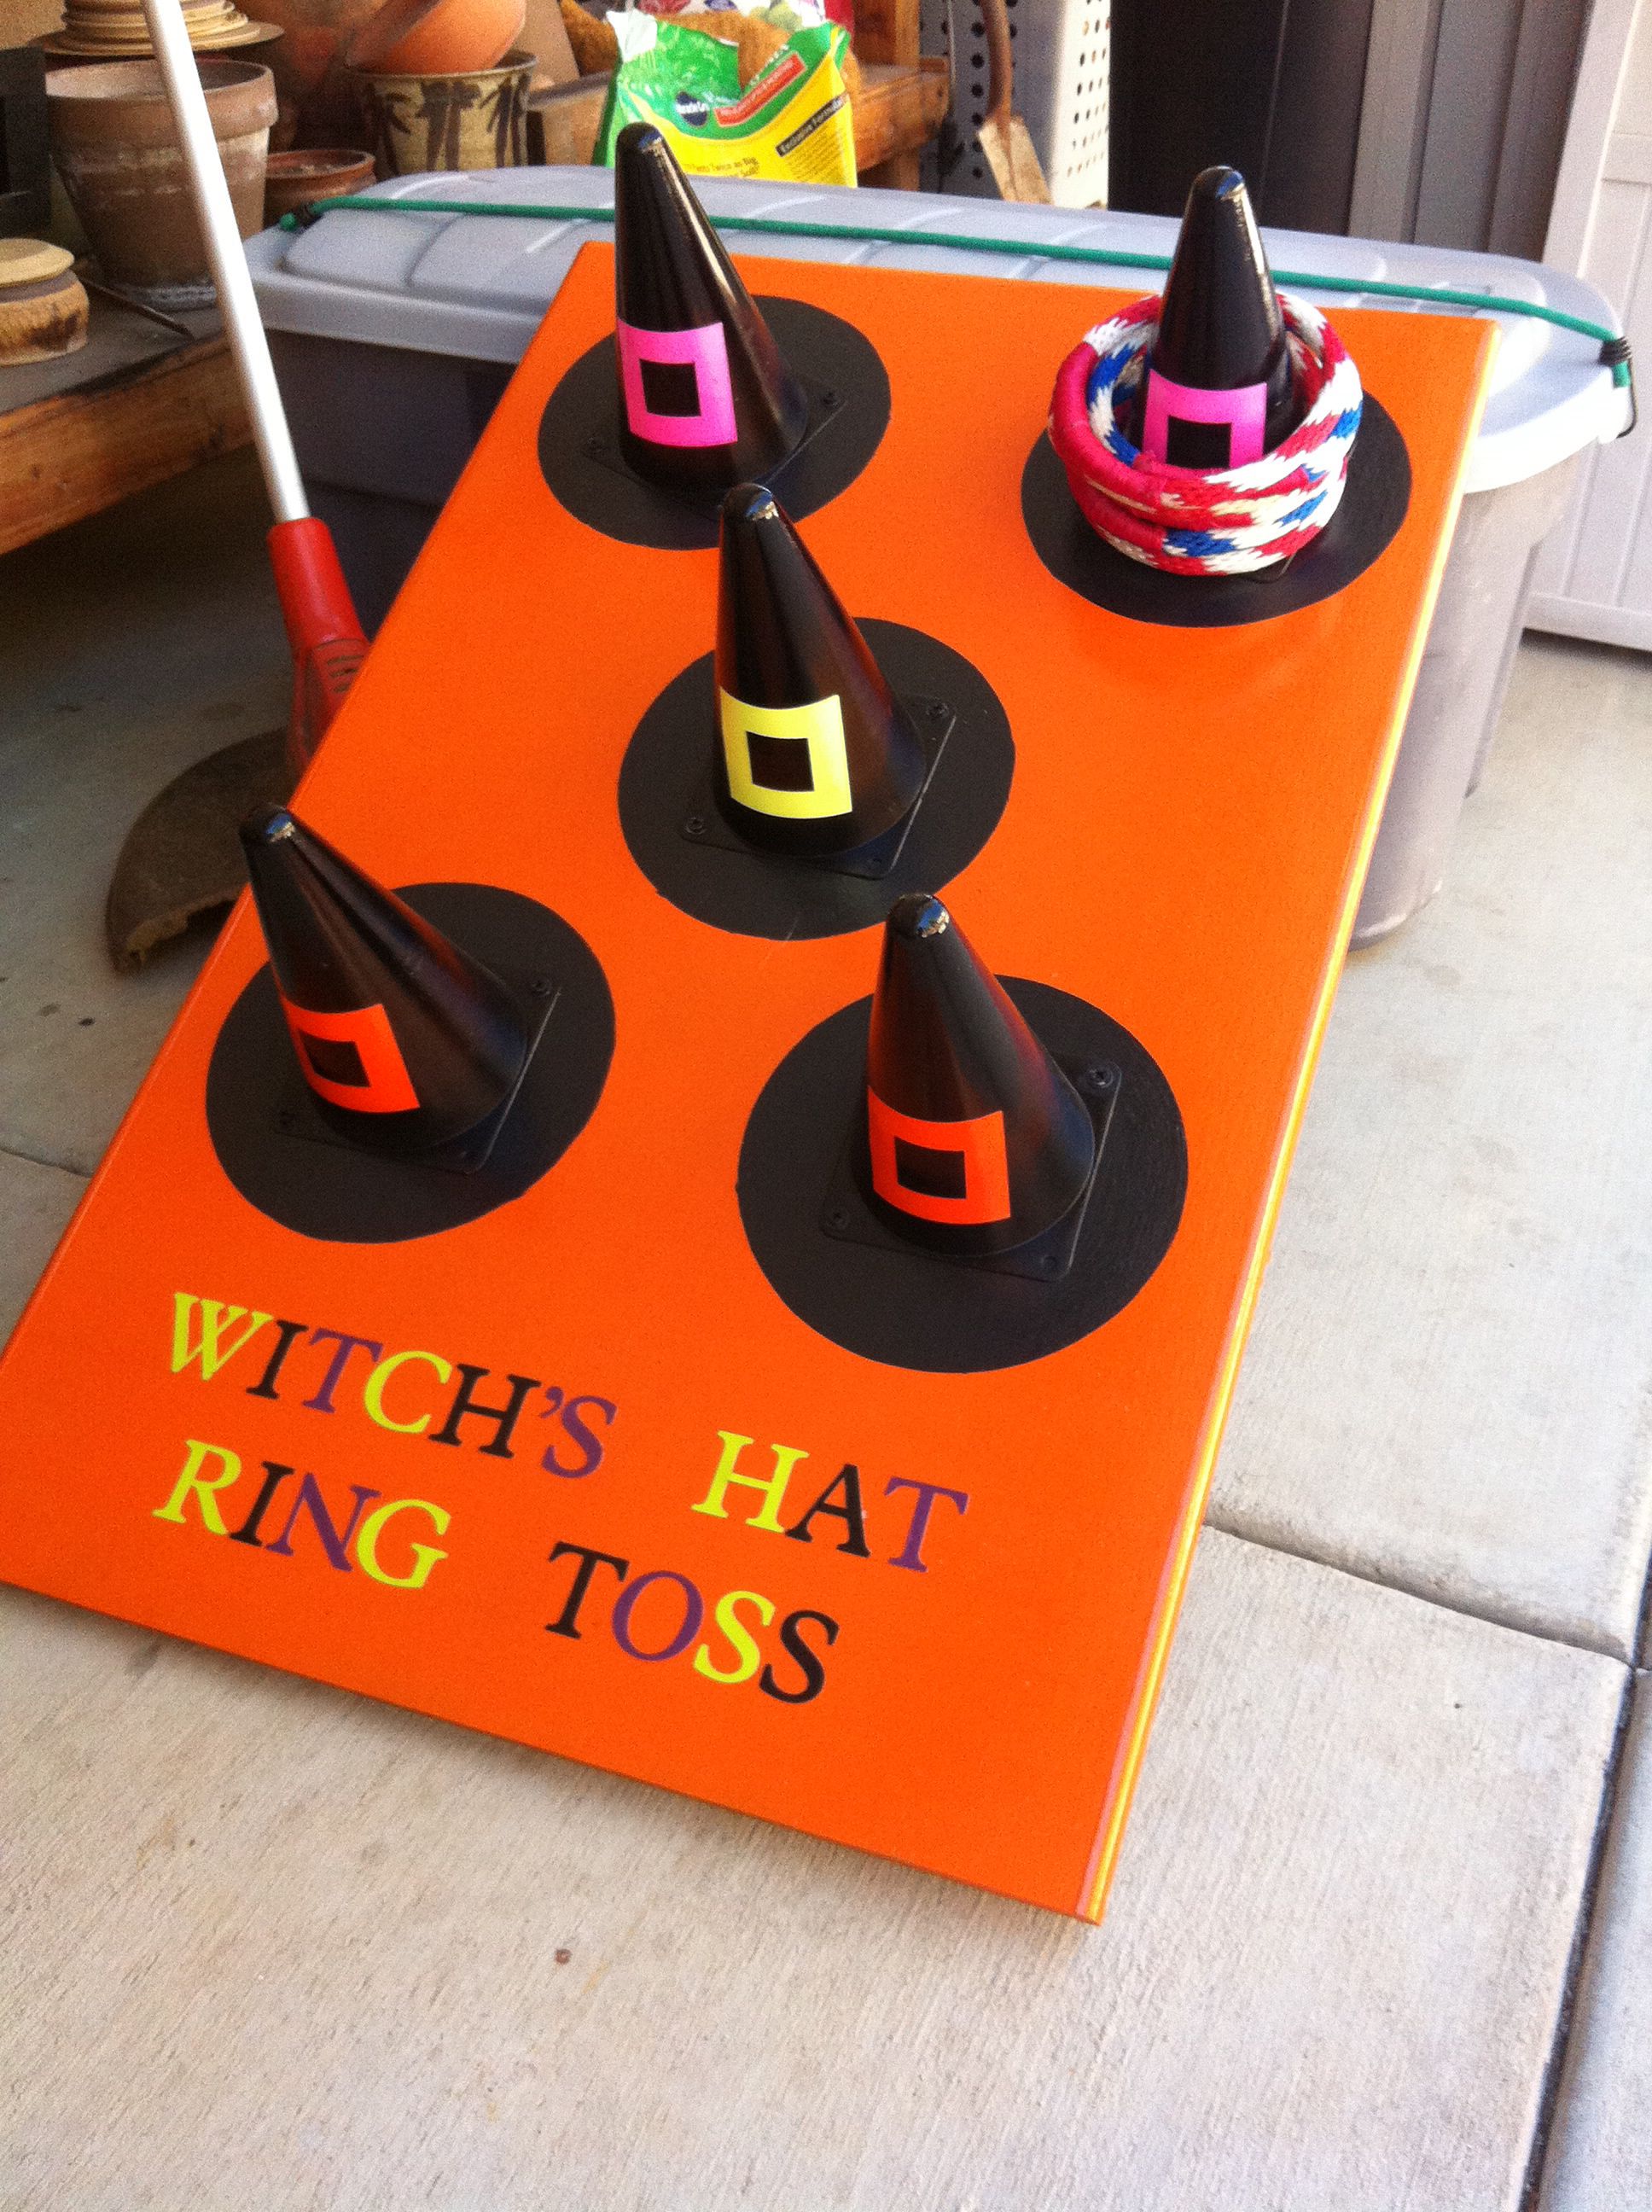
Halloween carnival games work best as independent booths: guests approach, play a short round, and move on. Unlike a seated party game, a carnival booth needs an obvious start line, visible instructions, a reset plan, and enough space for a short queue. Build a few sturdy, repeatable activities rather than a dozen delicate stations. The examples below use simple household or craft materials and can be adapted for schools, neighborhood events, or a backyard fundraiser.
Plan the floor before building booths
Start with expected foot traffic, not the game ideas. Place booths so people can wait without blocking a walkway, entrance, or emergency exit. Mark a participation line and keep spectators behind it. For younger children, arrange light objects at reachable heights and make sure all equipment is too large to be a choking hazard. Use stable tables, soft throws, and low targets. Assign a helper to any station that needs repeated setup, and allow an accessible seated participation option wherever possible.
Booth builds, rules, and operation
Ghost ring toss
Supplies: several weighted plastic bottles, white paper sleeves with friendly ghost faces, and lightweight soft rings sized to fit the bottles. Put three targets on a stable table at staggered positions. Players stand behind a taped line and toss three rings, earning one token for each successful landing. For younger guests, move the line closer or offer a larger target. After each player, the helper collects rings and checks the bottles are stable before inviting the next person.
Pumpkin beanbag landing
Supplies: two or three large buckets or cardboard boxes, paper pumpkin faces, and soft beanbags. Give each bucket a different point value based on distance, but keep it optional for younger children. Each player gets three tosses from a marked position. Use a clear stopping boundary so children do not rush forward while someone else is throwing. A volunteer resets the bags and keeps the waiting group behind the line.
Monster bowling
Supplies: six lightweight pins or empty plastic bottles, soft foam balls, and a flat play surface. Decorate the pins as silly monsters, then arrange them like a simple bowling triangle. Give players two rolls to knock down as many as possible. The score is the number of pins toppled, or you can award participation tokens to everyone. Keep balls soft and light; do not substitute a hard bowling ball on a crowded lawn.
Spiderweb target toss
Supplies: a large cardboard panel with a drawn spiderweb, several large openings, and soft fabric balls. Secure the panel so it cannot tip toward players. Each opening can represent a different point zone. Give participants three throws, then have the helper retrieve balls from behind the panel. Place the setup so missed throws land in an empty area, not in another queue or a neighboring booth.
Mystery-feel bag with visible alternatives
Supplies: opaque fabric bags with safe, clean textures such as a soft sponge, fabric pom-poms, or rubbery craft pieces. Let a volunteer show the contents privately to anyone who prefers not to reach inside. Guests try to identify the material by touch, or choose a visible matching photo card instead. This booth does not need jump scares or unpleasant substances; offer hand hygiene between participants when practical.
Monster mask decorating table
For variety, include a low-movement booth that is not a throwing game. Provide cardstock mask shapes, washable markers, stickers, and sturdy elastic-free handles. Guests decorate a mask to take home rather than compete. Avoid small loose parts for very young participants and keep scissors with an adult helper. This station can handle participants who prefer a seated creative activity.
Set up signs, volunteers, and a reset kit
Each booth needs a two-line sign: “How to play” and “How the round ends.” Place spare beanbags, rings, tape, cleaning supplies, and an extra marker behind the station. Use a small supply tote so volunteers can reset quickly. If prizes are available, make participation rewards modest and consistent, and avoid presenting speed or physical strength as the only ways to succeed. For bigger events, assign one person to watch the overall flow and shift queues away from congestion.
Build in safety and flexibility
Test every booth at a child’s height and an adult’s height, then adjust the playing line. Secure lightweight backdrops, keep cords away from walkways, and skip candles near paper decorations. For outdoor setups, watch for wind and damp ground; some cardboard stations need an indoor fallback. This article covers booth mechanics and traffic management. For small-group living-room games, use the mixed-age Halloween games guide; for crafts and seasonal projects, visit the Halloween activities guide.
A quick planning check
Each booth has stable equipment, a start line, and readable rules.
Soft throws and targets have safe stopping areas.
Queues do not block adjacent booths or exits.
A helper can reset the game in under a minute.
Accessibility and weather alternatives are planned.
Explore a related guide
Choose the next guide based on the specific planning question you still need to solve.
For the next planning decision, Halloween Party Ideas: A Practical Hosting Plan
For mixed-age Halloween games with quick rules, Fun Halloween Games for Kids and Mixed-Age Groups
For seasonal crafts, stories, and classroom projects, Halloween Activities for Families, Parties and Classrooms