How to Extract Frames From a Video
Save still frames from your video by timestamp or in batches, compare capture methods, and keep usable images for later edits.
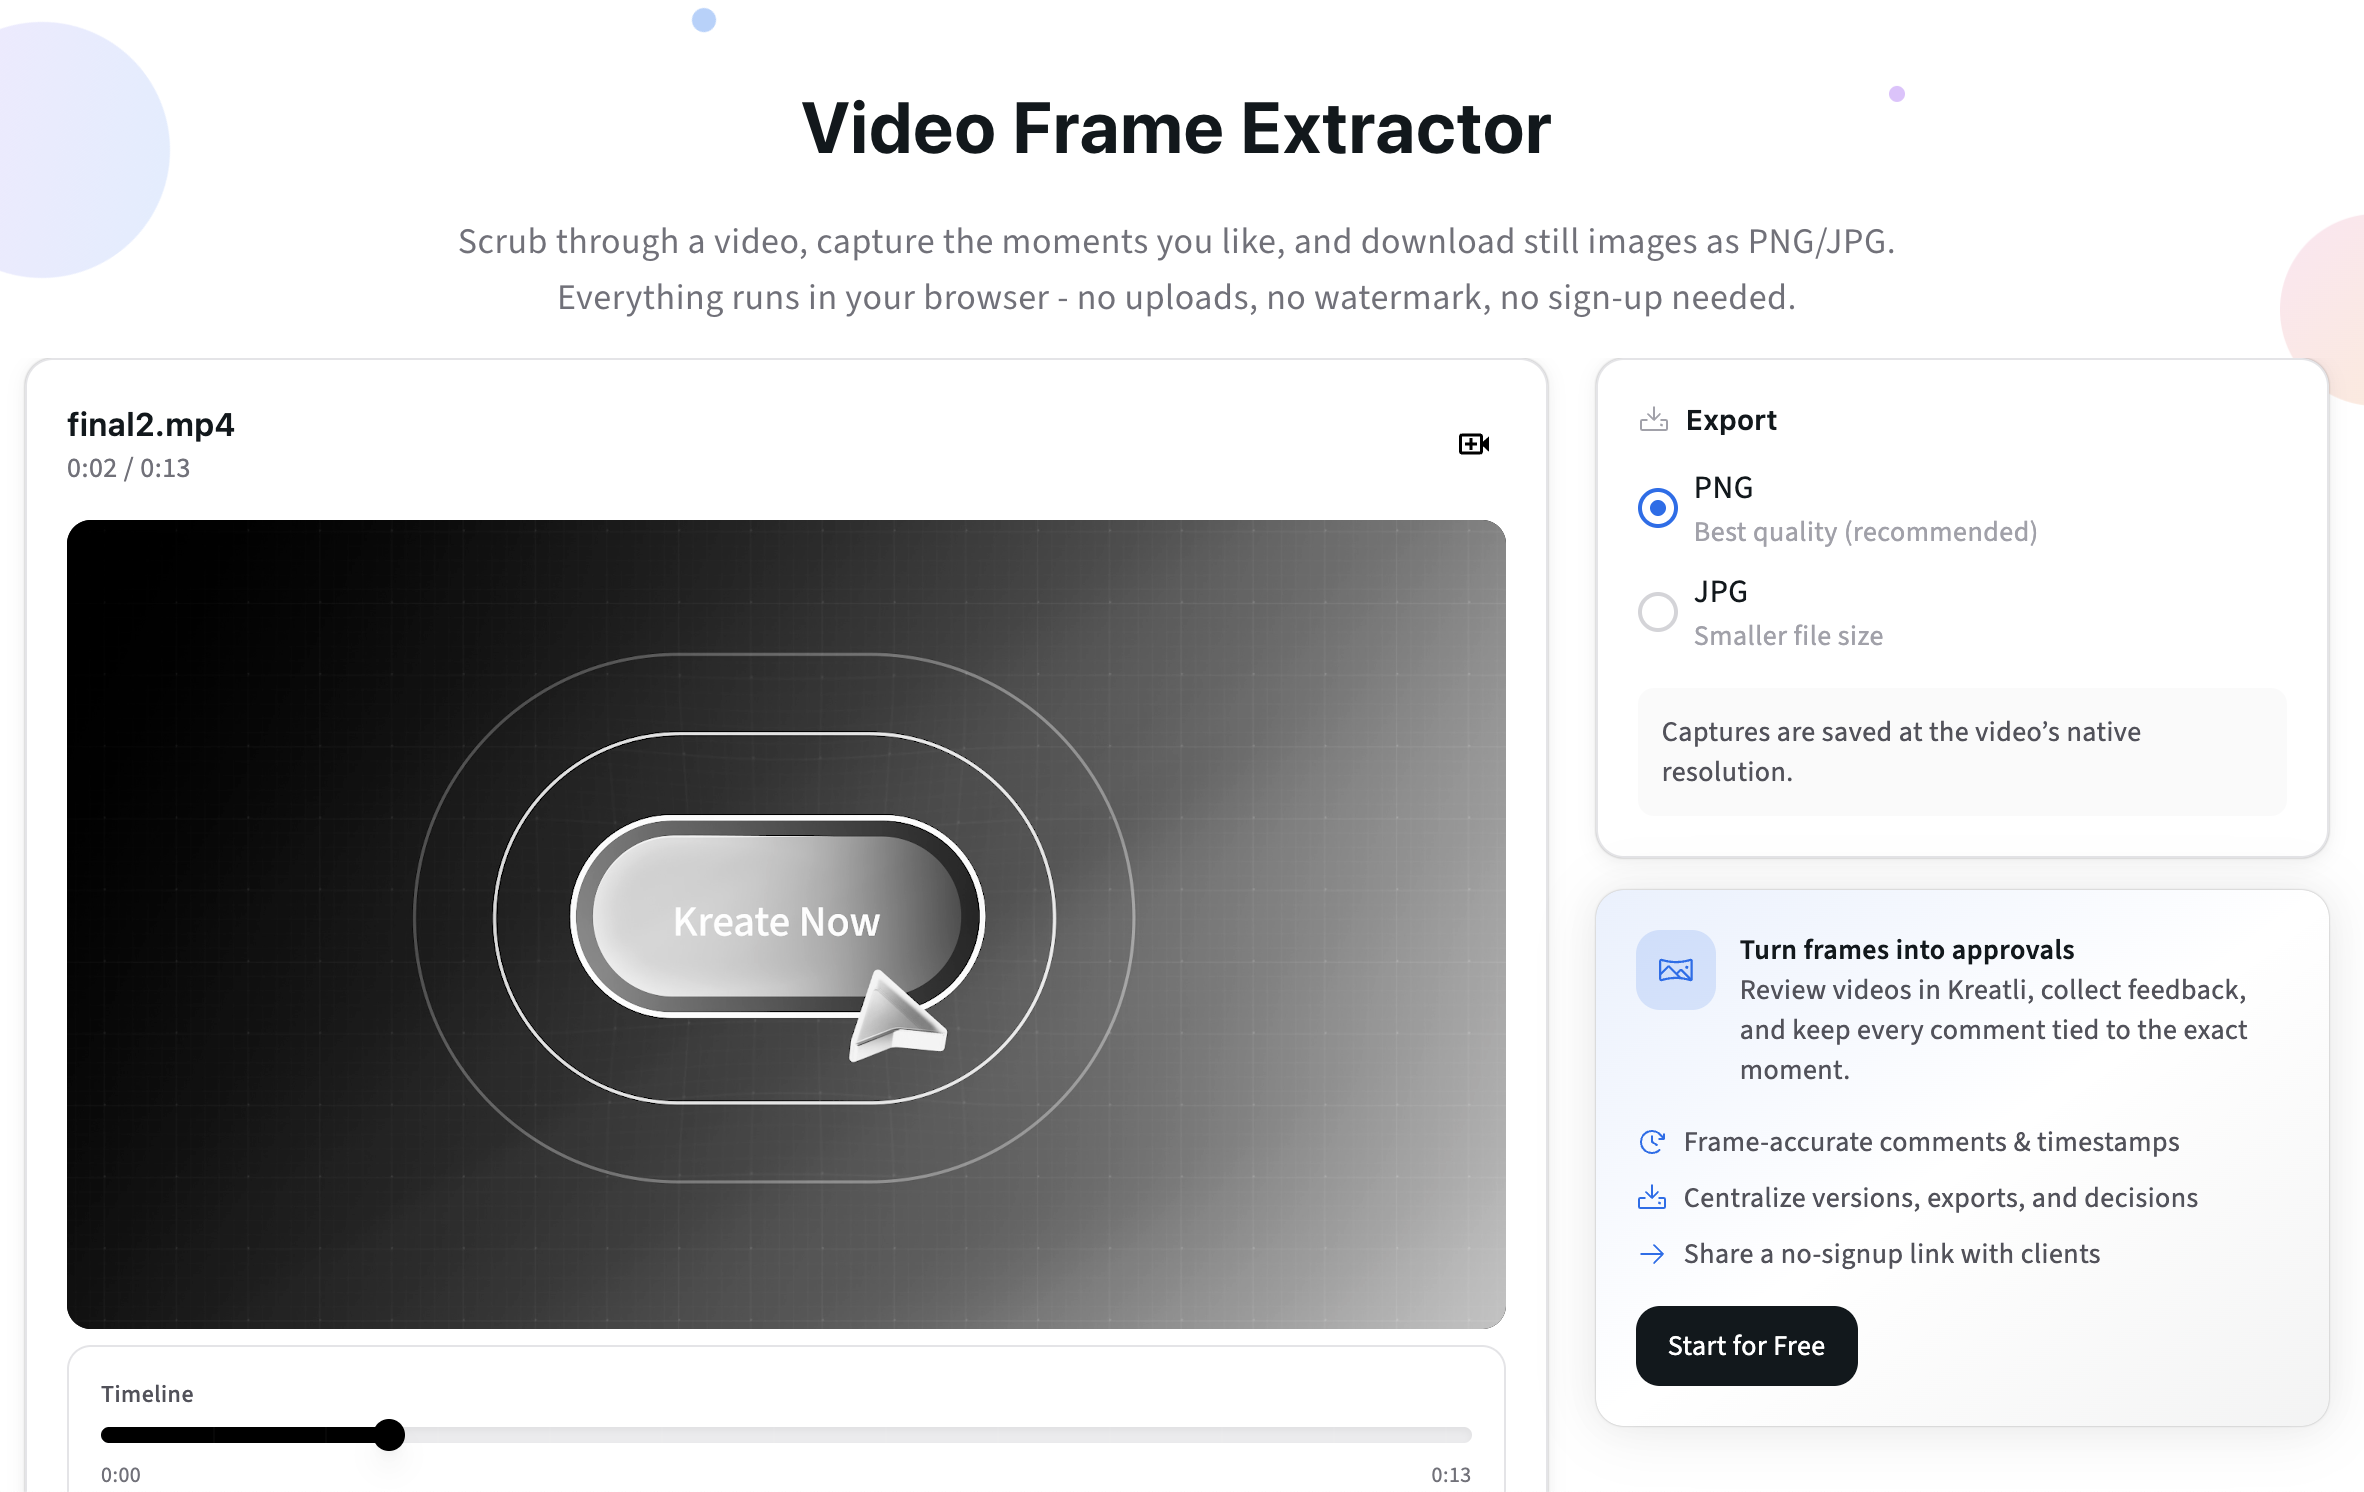
How to Extract Frames From a Video
A video frame extractor saves a still picture from an existing video; it does not create new footage from a photograph. That difference matters if your goal is to capture a product pose, make a thumbnail or prepare a reference image for an AI video scene. This guide covers manual grabs, batch exports, useful file settings and the quality problems that appear when you grab the wrong moment.
When to use a frame extractor
Extract a frame when you need evidence of what is visible at a particular time, a thumbnail, a visual reference for continuity or a still for a storyboard. Do not mistake a single image for proof of motion. If a video contains a fast action, the clearest frame might be slightly before or after the dramatic instant. Decide whether you need one carefully chosen image or a sequence that represents change. Set a naming convention including the source clip and timestamp, such as 'workshop_camA_00-14-20.png.' Keep the original recording unchanged so every exported image can be checked against its context.
Choose a single frame or batch export
A single-frame export is best for a thumbnail or a particular detail. Batch export is useful for reviewing a long recording, locating scene cuts or gathering references. Choose the interval based on what you need: one frame every five seconds is good for rough browsing but too sparse for an action that happens in half a second. When precision matters, move frame by frame around the relevant timestamp. Export only what you need because a large batch can create thousands of near-duplicate files. Be clear about the difference between a sampling interval and exact-frame selection; they answer different questions.
Use a video editor to save a still
Many desktop editors provide a frame snapshot or still export command in the preview window. Open the authorized video, move the playhead to the desired moment, inspect the actual displayed frame and export it using the editor's still-image feature. A normal screenshot can be an emergency fallback, but it may contain playback controls or a scaled-down image. When the source is interlaced, compressed or low resolution, the snapshot will not magically become sharp. Check the saved pixel dimensions. If you need exact frame identity, avoid workflows that rescale the preview or capture the browser window rather than the underlying video.
Use a frame extraction tool or command-line workflow
A command-line workflow can be useful for repeatability. With FFmpeg installed, a single illustrative extraction looks like: `ffmpeg -ss 00:00:12.500 -i input.mp4 -frames:v 1 frame.png`. Place `-ss` after `-i` when you need to prioritize more exact seeking at the cost of speed, and confirm the output visually because timestamps and variable-frame-rate video can complicate precision. For a sampled sequence, a filter such as `fps=1/5` requests roughly one frame every five seconds; it is not a guarantee of capturing every important action. Rename and check outputs before handing them to an editor.
Pick timestamps, resolution and image formats
PNG avoids additional lossy compression and is useful for text or graphics. JPEG usually produces smaller files and may be sufficient for ordinary photographic frames. Neither format adds detail that the video never recorded. Record the source resolution and avoid upscaling without a clear reason. Be mindful of rotation metadata: a phone clip may look vertical in a player but export sideways in a less capable tool. Include the source timestamp in the filename. If several frames are intended to become references for generative video, favor clear silhouettes and consistent lighting over dramatic motion blur.
Avoid blurred or duplicated frames
Blur often means you captured a frame during movement rather than a pause. Step a few frames earlier or later to find a sharper pose. Duplicate-looking images occur when the frame interval is finer than the change in the scene. A blank or unexpected image may come from a transition, title card or decoding problem; inspect the nearby frames. For a long batch, open a contact sheet and delete obvious near duplicates. Do not crop away contextual evidence if the frame will support a factual claim. For creative thumbnails, keep the unmodified original available alongside any edited version.
Reuse extracted frames responsibly
Footage recorded by you still may contain people who did not agree to reuse. For licensed videos, read the license terms before extracting and republishing a frame as a standalone image. An authorized frame can serve as a reference for a separate image-to-video animation, but the new generation may alter facts or likenesses and should be reviewed as synthetic content. Do not extract frames from protected media simply to evade access or licensing rules. The reverse task—turning one still into motion—belongs in the photo-to-AI-video tutorial.
A practical example to adapt
FFmpeg example commands for your own video: Single still: `ffmpeg -i input.mp4 -ss 00:00:08 -frames:v 1 still.png`. Sampled frames: `ffmpeg -i input.mp4 -vf fps=1/5 sample_%04d.jpg`. Run each on a copy, inspect the first and last results, and keep exact timestamps with the source filename.
Frequently asked questions
Can a screenshot replace a frame extractor?
Sometimes, but snapshots from the editor or source file often preserve cleaner dimensions and avoid playback controls.
What is the best format for extracted frames?
PNG for lossless quality and graphics; JPEG when size matters more than further compression.
Is extracting a frame the same as generating an AI video?
No. It creates a still from existing footage; image-to-video moves in the opposite direction.
Related guides
turning a photo into an AI video
editing a video online for free