Halloween Door Decorating Ideas for Homes and Classrooms
Decorate a Halloween door with paper, fabric and removable details, plus practical ideas for homes and classrooms.
Halloween Door Decorating Ideas for Homes and Classrooms
A decorated door can welcome visitors before they see the rest of a Halloween display. The most successful designs suit the doorway’s size and surface while preserving access to handles, locks and pathways. These ideas focus on functional doors, not judging a school or office contest.
Easy Door Themes
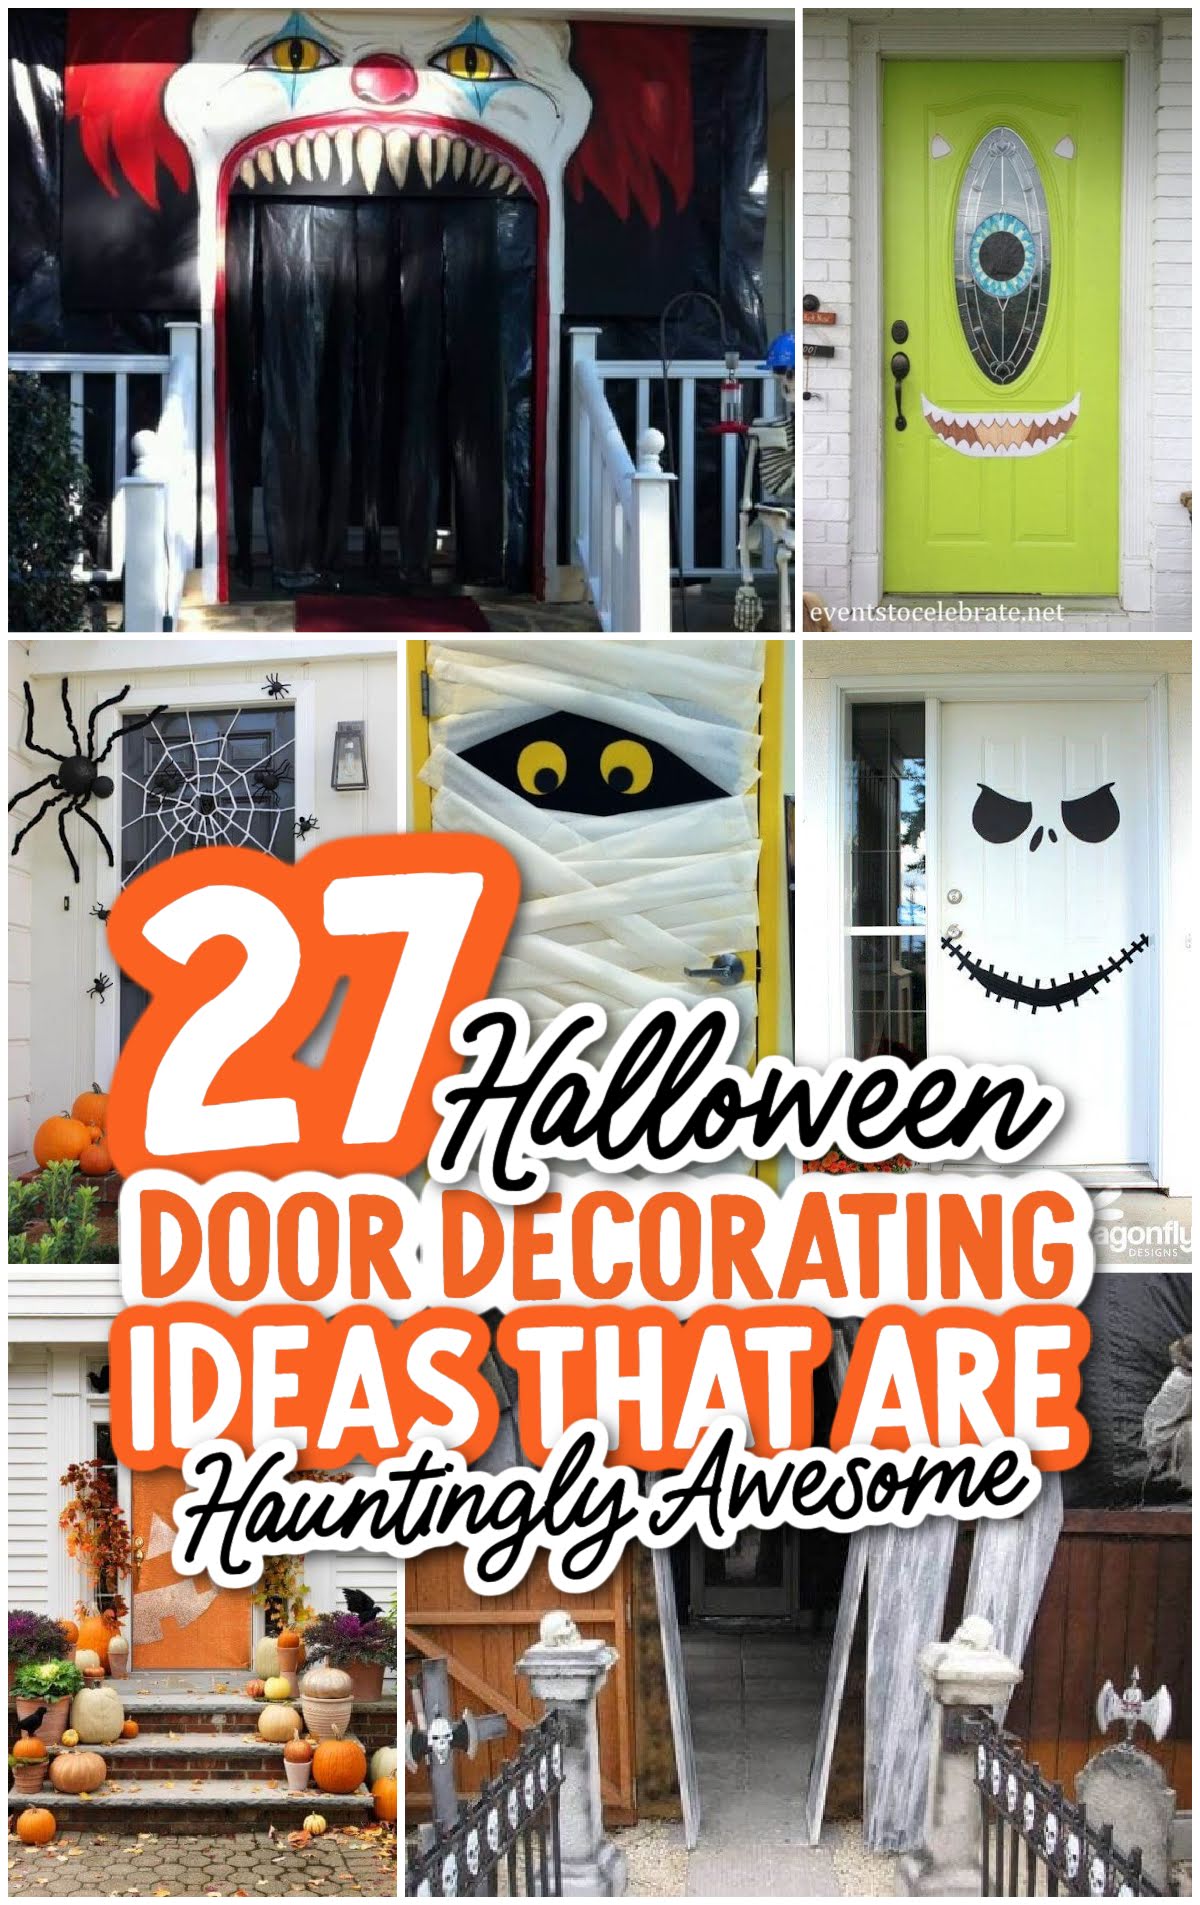
A friendly ghost theme needs a white paper body and two dark shapes; a pumpkin door can use orange fabric panels and black removable facial details. For a dramatic look, place a moon near the top corner and a few bats moving diagonally across the surface. Test the arrangement with the door fully open and closed.
A simple quality test uses five questions: Can the door open fully? Can people reach the handle? Are any required signs or windows covered? Will the material survive the expected weather? Can the decoration be removed without damage? If the answer to any is no, revise before attaching more pieces. A door that looks perfect in a photo may fail as a real entrance. For families, place the friendliest illustration at child eye level and the optional details higher up. For communal buildings, coordinate with staff before installing anything. The best design is both visually clear and convenient to use.
Paper and Fabric Door Decorations
For paper designs, tape a single backing sheet to an appropriate removable mounting method, then layer lightweight decorations. Felt and fabric are reusable and quieter than plastic props on busy doors. Do not cover a peephole, door number, accessible signage or required window panel. A theme should remain clear even after some pieces are removed.
A renter-friendly design can use one removable paper backing sheet and six large cutout shapes. Sketch the placement on the floor first, then attach everything from top to bottom after testing adhesive. Step back across the hallway and check whether the main image is visible. If the design only reads from a few inches away, simplify it rather than adding smaller details.
Weather and Adhesive Choices
Outdoor doors need weather-aware materials. Paper can wrinkle in damp conditions; strong adhesives can damage paint. Test an attachment on an inconspicuous area and remove it according to the surface manufacturer’s instructions. Secure hanging parts so they cannot swing into a face or catch on a latch.
Decorating Without Blocking Access
A door decoration should never narrow the opening or conceal emergency instructions. Keep lightweight décor away from hinges and closers, and avoid floor props in the walking path. For group competitions, scoring and deadlines matter as much as the design; those details belong in the door-contest guide.
Front doors and classroom doors impose different constraints. Outdoor doors need moisture-resistant materials and wind-secure attachment, while school doors may require visibility through a window and compliance with building rules. Never assume a product described as “removable” is safe on every finish. Test a hidden area and follow the building manager’s guidance where applicable.
A useful way to apply these ideas
Make one small version first, then adjust it for your audience, space and resources. The following checks are specific to this topic; use them as a short planning pass instead of assuming every example fits every situation.
Practical takeaways
Measure the visible panel before cutting materials.
Test all removable adhesives on the real surface.
Keep handles, signage, windows and hinges unobstructed.
Check the design with the door fully open.
Can I decorate a front door without damaging it? Use lightweight removable materials approved for the surface and test the adhesive first.
Related Halloween guides
Halloween door decorating contest ideas and fair rules